This site contains affiliate links. I may earn a small commission, at no extra cost to you.
In this post I’ll share how to patch test new skincare products so you don’t break out too badly if they don’t suit you.
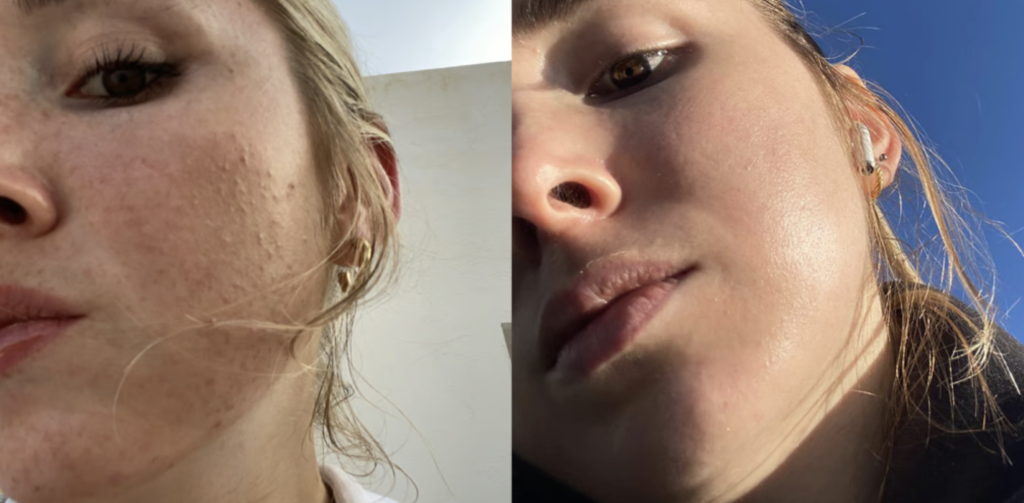
I used to break out from new products all the time and spend weeks (sometimes months) recovering from the damage they caused.

For one, because I seriously underestimated just how much skincare even could break me out. Secondly, because I didn’t know patch testing was a thing.
The best thing about patch testing is that, instead of breaking out allover your face badly, you can minimise the breakouts to just one area and to a low severity.
How to patch test skincare products

This is my exact method for patch testing new skincare products:
- Make sure you’re not recovering from any other product-induced breakouts. You need a blank canvas. Hormonal breakouts can be present as obviously these are harder to eradicate. The point is, you want your skin to be feeling quite ‘normal’ at the time you do the testing.
- Apply the new product to one cheek – I always use my left cheek for testing to avoid confusion later down the line.
- Have some kind of mirror (or microwave glass lol) that has sunlight coming in from the same side. This is so you can watch closely for tiny clogged pores or bumps forming.
- After you apply the product once, take 3-5 days to keep watching for any clogged pores to form. Usually for me it can take 2-3 days, but sometimes it’s as soon as later that day!
- If 5 days have passed and you’ve not had a reaction or any tiny clogs, apply it again. Follow the same procedure from step 4, and keep doing to this until you’re confident the product isn’t causing any weird reactions or breakouts.
- Et voila – you now have a product that works for you and you can safely apply to your whole face.
Why does this work?

If you’re thinking ‘how do i patch test skincare?’ or even how does this work? This is why:
Instead of buying a new product and then immediately using it allover your face for multiple days (sometimes weeks) before thinking ‘hey, why is my skin breaking out?’, you can get a mini preview of how it’s going to affect your skin by patch testing.
Clogged pores take a few days to form sometimes, so when you immediately use it on the whole face and for many days, you are more likely to get LOTS of clogs this way. This then leads to the breakouts taking weeks to get over, because the product was used multiple times (each time planting more clogged pore ‘seeds’ in your skin).
Extra tips for your skincare patch test
Tips to get the most from patch testing skincare:
- Don’t ignore little bumps after day 1-2 just because they’re ‘little’. A product you use regularly shouldn’t cause any bumps, these small bumps are just an early preview of what’s to come – it only gets worse in 99% of cases. When you see this you can discontinue the product know you saved yourself weeks of recovery.
- Don’t bother patch testing retinoids or chemical exfoliants because nearly every time these are going to cause a purge. In other words, they’re almost guaranteed to cause little bumps since they’re exfoliating or increasing skin cell turnover. This method only applies to: SPF, moisturiser, serums, toners.
- Don’t think that the little bumps are just your skin ‘getting used to’ the new product, this concept is bogus – skin does not need to ‘get used to’ moisturisers or purge to get used to them. The only products skin needs time to adjust to are chemical exfoliants and retinoids.
This was How to Patch Test New Skincare Products. You may also like:
- How to treat PCOS acne: hormonal solutions for clearer skin
- How to Get Prescription Azelaic Acid or Finacea Gel Online